Thursday, June 30, 2011
Rustic Apple Tart
Monday, June 27, 2011
A Gardener's Delight: Peas Please!
Wednesday, June 22, 2011
Blackberry Scones
This week I have to say that I really had a difficult time narrowing the possibilities down to just one recipe. In the end though these fantastic little treats won. They are flaky and delicious and an easy way to bring a fancy touch to your breakfast or brunch.
Blackberry Scones
Again the ingredients list really isn't too complex which is always a bonus! Here is what you will need.
Bring on the berries! I recently heard of a fantastic trick to adding berries to things like scones. You wash them and in the case of my recipe add 1 1/2 Tbsp of sugar to them stir them up and put them into the freezer for about 1/2 hour. This helps to maintain the structure of the berries when you are mixing them in. I am not suggesting however that you uses frozen berries. Fresh is always better! Aren't my frosty berries beautiful?
Alright let's really get cooken' now! The first thing that you want to do is mix all of your dry ingredients (except the 1 1/2 Tbsp. of sugar that you added to your berries.) Then you want to cut up your butter into about 1/2 inch cubes handling them as little as possible, you want to keep the butter cold this is what makes them flaky. Then with a pastry blender, potato masher or even a food processor you want to cut in the butter until it looks like this, kind of like a course meal.
Next make a well in the center of your mixture. Then beat together your buttermilk and eggs. Pour your milk mixture into your well and starting from the middle mix the ingredients until just combined. Over mixing will cause the gluten to build up in the dough and will ruin the texture of the scones.
Once you have it mixed pull out your berries and gently fold them into the dough. It will be a very stick dough. You then want to turn your dough out onto a generously floured counter and then form your dough into a log about 3 inches wide and 15 inches long. Then cut about ever 2 1/2 inches like so.
Then go back through and cut them into triangles. In this picture you can also see my cool chopper thing. I am sure that it has a more technical name but as far as I am concerned it is my "cool chopper thing." You can get them at just about any kitchen store and I highly recommend them. They make so many things so much easier!
Then place them on parchment paper and bake at 400 degrees for 15-18 minutes or until golden brown on top.
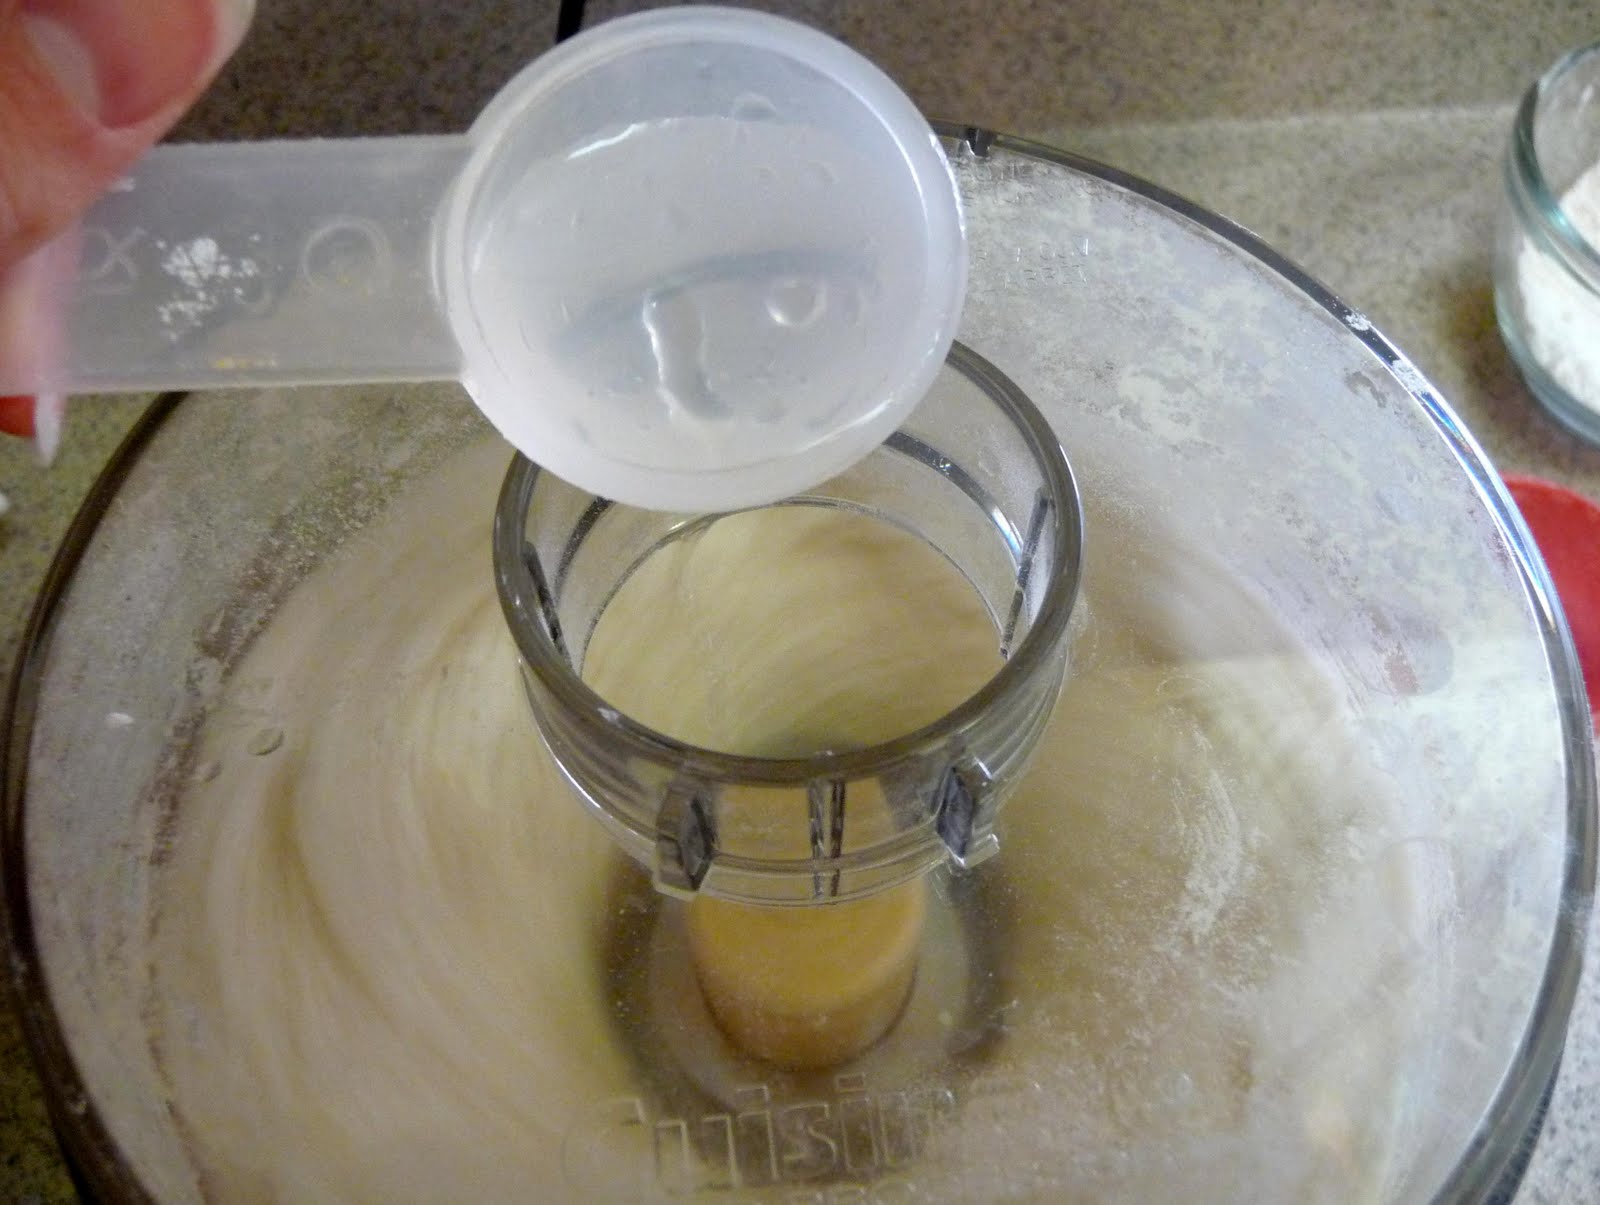
Then place them on a cooling rack and get started on your glaze.
This next story is of a lemon and an orange and a dual! I could not make up my mind as to what kind of a glaze I wanted for these babies. So I will let you dual this one out for yourself the glaze will work for either one.
One last tip, Raspberries are amazing in this recipe also!
***Disclaimer, while I use my buttermilk past its due date it is true that using things past the due date can make you sick so use your best judgement on this one!***
Tuesday, June 14, 2011
Citrus Tarragon Chicken Kabobs
This week I made Citrus Tarragon Chicken Kabobs and can I just say that eating off of a stick is fun especially for kids. Not only are they fun but they are down right delicious and perfect for your summer BBQ's!
Citrus Tarragon Chicken Kabobs
Alright enough chit chat we've got to get these babies on the grill because the next place they will go is in your mouth and I promise you will be thanking me for it! Here's what you are going to need.
1/4 C. Fresh Lemon Juice
all of the above ingredients except the your "Bountiful" Veggies and the Chicken. Then cut your chicken into 1 inch chunks. Place the chicken into a zip top bag and pour 3/4 of the marinade into the plastic bag and let it marinate anywhere from 2 hours to 24 hours. While your chicken is marinating chop your "Bountiful" Veggies into 1 inch chunks. You also will want to soak your skewers in water if you are using bamboo or wooden skewers. Now it is time to assemble and get grillin' I like to assemble mine like so... chicken, onion, pepper... I think that one of the best parts of making Kabobs is that you can make them with what ever veggies you want. Or you can make them with just chicken but is this Bountiful Bliss or what? We need and love our veggies! Salt and Pepper your Kabobs generously with Kosher Salt and Freshly Cracked Black Pepper. Now for the grill! Set your grill to Medium Low once your grill is hot turn it off and spray your grill with Pam for Grilling (It's new and I love it! You can get it just about anywhere) so that your Kabobs don't stick and then turn it back on and place your Kabobs on the Grill. As soon as the chicken is cooked through take them off of the grill serve with remaining marinade and enjoy!
Oh I almost for got! Or as Dylan my 4 year old would say "I loosed my brains!" The Potatoes. The first thing that you want to do is chop them into 1 inch chunks and boil them until they are cooked through. Then let them cool, I did this step while I was waiting for my chicken to marinade. Once they are cool enough skewer them and brush them with olive oil, or spray them with Pam and season them with Heather's Seasoning Salt (see Stuffed Mirlitons for the recipe) or kosher salt and fresh black pepper. Then place on the grill and cook until they are golden brown. They are fantastic! They taste like homemade potato chips, your going to love them! Do you see them peeking out under the other Kabobs?
Such a fun and delicious dinner!
One last thing until I say goodbye until next week. With it being summer and all of the craziness that comes with it I will be blogging on Wednesdays for now. Thank you for following me through this journey I'll see you next Wednesday!
Tuesday, June 7, 2011
Caramelized Onion Salad With Goats Cheese, Candied Walnuts, Pears and Arugula
Onions, onions... I have to admit that for the majority of my life I have not been a fan. But as soon as I started really getting into cooking I realized that onions make just about everything taste better. Yes Dad I said it! From the time that I was a little girl I can remember my Dad sauteing onions every Saturday night many times making his "Spuds". I think that he particularly enjoyed making his "Spuds" as I became a teenager. There is nothing like going out on Saturday night smelling like onions. Some Dads clean their guns at the table when boys come to pick up their daughters for a date, but not my Dad he would pull out the onions. Aw well now I am the one smelling like onions all on my own accord. So if you are sitting next to me someday wondering, what is that smell? Just know that it is the onions and I couldn't do it without them. This week I am making Caramelized Onion Salad with Goat Cheese, Candied Walnuts, Pears and Baby Arugula. Wow that is a long name! I need a new name for this and I am taking suggestions... Anyone?
Caramelized Onion Salad With Goats Cheese, Candied Walnuts, Pears and Arugula
I do have to warn you before you get started that this dish has a few steps but don't let that stop you from making this delicious salad, you can do just about all of them ahead of time. This salad would compliment any meal as a side salad or be excellent as a main dish. Let's get cooken'! The first thing that you want to do to get this salad put together is to make the Candied Walnuts. They take a while to dry and set up so you want to make these ahead of time. You can also buy them already made if you are short on time.
Next we move on to the croutons, yes that's right homemade croutons. Of course you could just buy them if you are short on time. But there is just no comparison between homemade croutons and store bought stale croutons and they are very easy to make. Here is what you will need.
They also are great just to eat like a snack. Kind of like homemade crackers. My kids just loved them, I had to stop them from eating all of them before I got the salad put together. Now for the rest of the salad. Here is what you will need.
I love this dressing! It is Briannas Blush Dressing. It is a vinaigrette and absolutely perfect for this salad. It is also good though with a balsamic vinegar dressing, if you prefer it. This next picture is of the Goats Cheese that I used. I just got this at Costco and it is very good. If you are not failure with Goats Cheese it is a very creamy cheese that has a bit of tang to it. It compliments this salad very well. You want to crumble about 1/4lb. of it with a fork to top this salad.
Helpful Hint: If you are not a fan of Goats Cheese or it makes you a bit uneasy, feta would work just fine here as well. Also as you might notice from my picture above I used Bosc Pears for this salad, they were what I could find that were ripe when I needed them, but feel free to use what ever pears you like.
Now you maybe asking what does this picture have to do with this salad and well I'll tell you. This is a picture of my Dad, the onion lover himself. He was my honorary Sous Chef the day that I made this salad. He caramelized the onions for me. I tried to get a picture of him doing it for me with his apron on but he got an important phone call just as I was about to take it so this will have to do.
Tuesday, May 31, 2011
Roasted Broccoli and Cauliflower
Hello again! Let me just start by saying that I am sorry for my 2 week hiatus. This year because of my sweet baby Kate my family took separate vacations. We are blessed to go to Lake Powell every year with my husbands family, but this year I just didn't think that it would be a very pleasant trip with my 9 month old. So I packed my boys up and shipped them to Lake Powell while I went to St. George with my family. Knowing that I would be missing one week of Bountiful Bliss, I made two recipes to make up for it. I wrote the recipes, cooked them, took pictures of them and was very excited to blog about them in the peacefulness of a quiet condo with a view in sunny St. George. But as I sat down ready to get down to business I realized that I had sent my good camera with with all of my Bountiful Bliss pictures off to Lake Powell with the boys. Needless to say my hands were tied and I was unable to post my two new recipes. But what I can do is show you the beautiful view from the deck of the condo, isn't it just beautiful?
Well after a relaxing week spending time with my family, having some good old girly time with my Mom and Kate and basking in the sun. I am now back and back in business and can I just say that this weeks basket was amazing! I have loved everything in it, but this week I thought that I would feature the Cauliflower and Broccoli. I have to admit that until I had Cauliflower made this way I was not really a huge fan. I considered it to be broccoli's ugly step-sister, but dressed up the right way it has become the Belle of the Ball.
As you can see the ingredients for this recipe are very simple. This dish gets most of it's flavor from roasting the veggies. Roasting your veggies condenses the flavors and brings out others that you never thought you would taste in them.
Drain them and set them aside to cool a bit. Once they are cool enough to touch pour them out onto a baking sheet. Then drizzle the olive oil over them and sprinkle on the remaining ingredients. Using your hands toss them all together to coat your veggies.
Helpful Hints: You will see that I did not give exact measurements for the Salt and Pepper. This is because as in most things in nature no two heads of broccoli or cauliflower are the same. So you will have to use your judgment on that one. In the batch that I made I made I used 1 Tsp. Salt and 1/2 Tsp. Pepper and it was perfect! One last helpful hint if you don't have fresh thyme then you can use 1/2 Tsp. Dry Thyme in it's place.
Place them into the oven for 30-35 minutes or until they are slightly browned.
Here is a close up so that you can see what I am talking about. Oooo don't they just make your mouth water? When my 6 1/2 year old came in to tell me that he was hungry (which he is always:) he took one look at what I was making and said mmm... I love those with a a big smile on his face, need I say more? I hope that you all love this dish as much as we do.
Tuesday, May 10, 2011
Roasted Red Potato Salad
It's getting to be that time of year again...BBQ season! I love BBQ Season! BBQ is quick and delicious and the best part of all, it is most often shared with great friends and family. Mother's Day weekend seems to always kick off the this season, perhaps because in my family the men cook on Mother's Day. And how do men like to cook best? On the grill of course...or at least the men in my life do. So to bring in the season I made Roasted Red Potato Salad with my basket this week. It is rustic and delicious but it does have to be said that this is definitely "Not Yo Mama's Potato Salad!" This potato salad kicks the trash of regular potato salad, it is packed full of flavor and will have your taste buds dancing! It is much quicker then regular potato salad and it can be made a day in advanced. I hope that you all get the season kicked off right with this amazing potato salad!
Roasted Red Potato Salad
Here are your ingredients. And yes that is right you do see Blue Cheese Dressing there, I told you that this is Not Yo Mama's Potato Salad! I happen to absolutely love Blue Cheese Dressing if you however are not the true blue fan that I am you could use Ranch Dressing or just Mayo in it's place. The blue cheese is definitely mellowed out by the rest of the ingredients in this salad and just adds great depth of flavor to this recipe.
Now that we have my tribute to fresh herbs out of the way let's get cooken! To start wash and chop your "Bountiful Red Potatoes" into 1 inch chunks. Place them on a lined sheet pan. (I usually will use tin foil for this but of course I had just run out before making this and so I had to use parchment paper, but either way it will make clean up much nicer.) Drizzle your potatoes with olive oil and then pour your Onion Soup packet on top. Using your hands, that's right I said hands, mix them together until all of the potatoes are coated. I have tried many times to do this without using my hands and I have found that the only way to really get the job done right is to just dive in. Besides olive oil is great for your skin anyways. Then Chop your bacon up into 1/4 inch pieces. Sprinkle that over your potatoes and bake at 450 degrees for 34-45 minutes or until fork tender and golden brown as shown. P.s. The smell of this cooking is intoxicating!
Allow the potatoes to cool. While you are waiting for that in a small bowl mix together your Mayo, Blue Cheese Dressing, Dijon Mustard, Salt and Pepper. Then when your potatoes are cooled scoop them into a large bowl and pour in the sauce, herbs and celery. Stir to combine sprinkle on a few extra herbs for garnish and either enjoy now or put it into the fridge until it is cold and enjoy later.
Helpful Hints: I have found that the best way to keep herbs fresh longer is to wrap them up in a damp paper towel and put them into a zip top bag and store them in the fridge.